XML Modifications
In order to use
evdev, we will need to remove the USB controller from our machine. Otherwise, the controller will capture the USB (and input) devices first, thus removing the files from/dev/input/by-id/.If you really want to pass in USB devices, try utilizing a secondary USB controller for passthrough. Using USB Host Device is not recommended. QEMU’s USB Controllers are non compliant and on OS X / macOS do not provide proper functionality for basics such as iPhone Sync, and the likes.
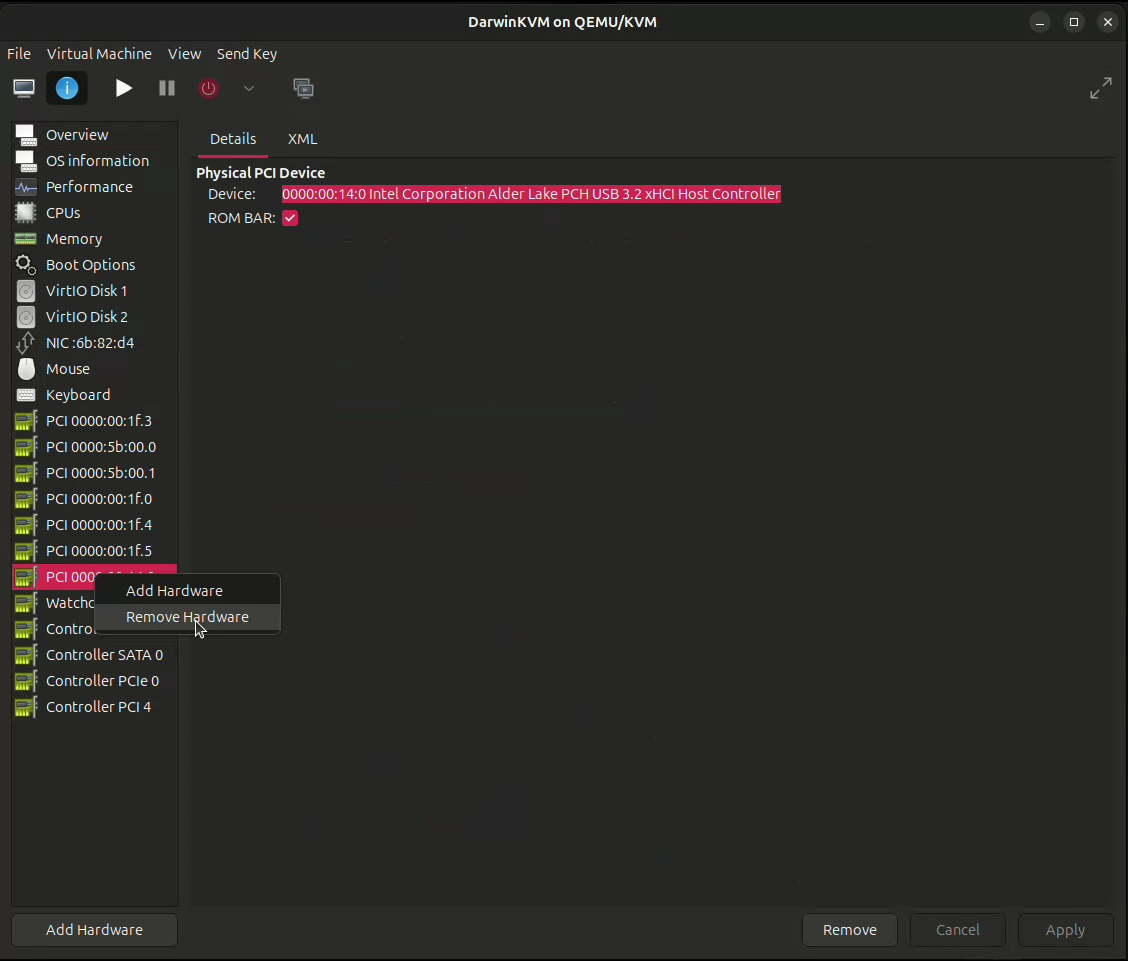
First, let’s remove the USB controller from the virtual machine.

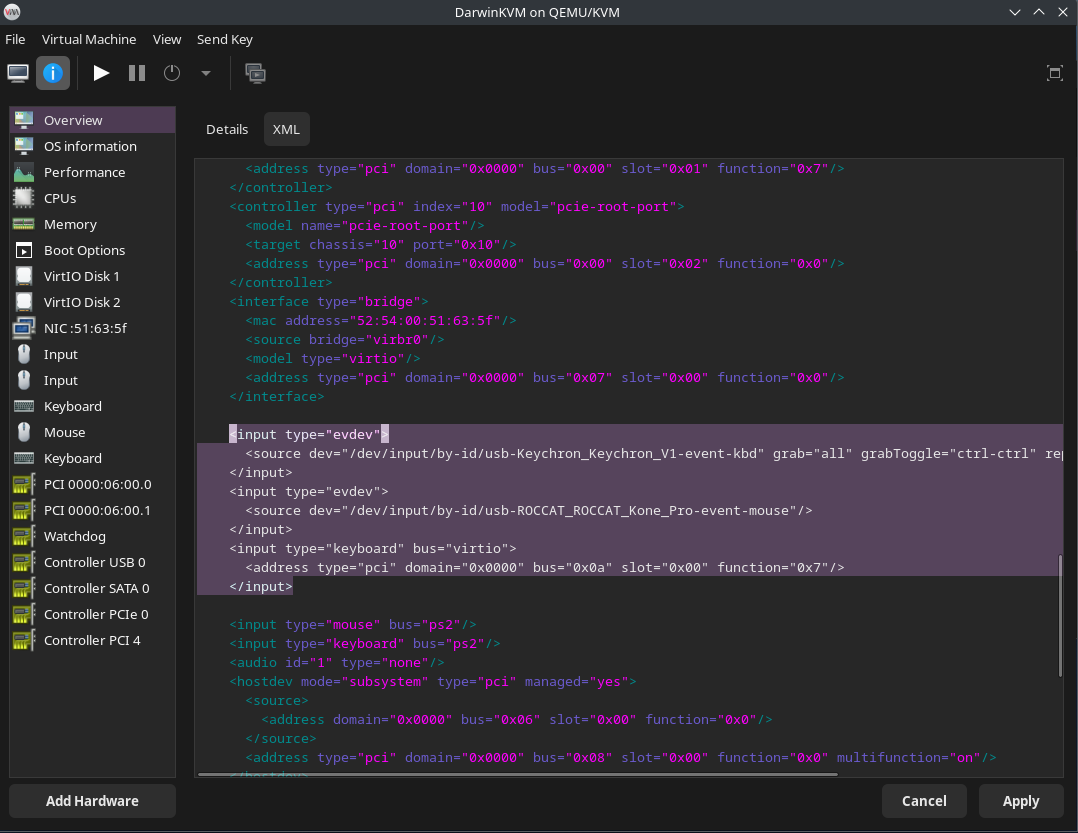
Now, we need to edit the XML of the virtual machine. Go to Overview > XML, and scroll down until you see the following lines:
<input type="mouse" bus="ps2"/>
<input type="keyboard" bus="ps2"/>
Now, before the mouse and keyboard XML, copy and paste the following XML to add our mouse and keyboard (replacing the paths with the actual paths to the keyboard and mouse):
<input type="evdev">
  <source dev="/dev/input/by-id/(keyboard-path)" grab="all" grabToggle="ctrl-ctrl" repeat="on"/>
</input>
<input type="evdev">
  <source dev="/dev/input/by-id/(mouse-path)"/>
</input>
<input type="keyboard" bus="virtio">
  <address type="pci" domain="0x0000" bus="0x0a" slot="0x00" function="0x7"/>
</input>
The
grabToggleoption will be the keyboard shortcut to switch the keyboard and mouse focus from host (Linux) and guest (macOS). This can be configured to the keyboard shortcut that you prefer. By default, it will be'ctrl-ctrl', but this option can be configured to the following options:
'alt-alt''shift-shift''meta-meta''scrolllock''ctrl-scrolllock'

Remember to ‘Apply’ when you finish!
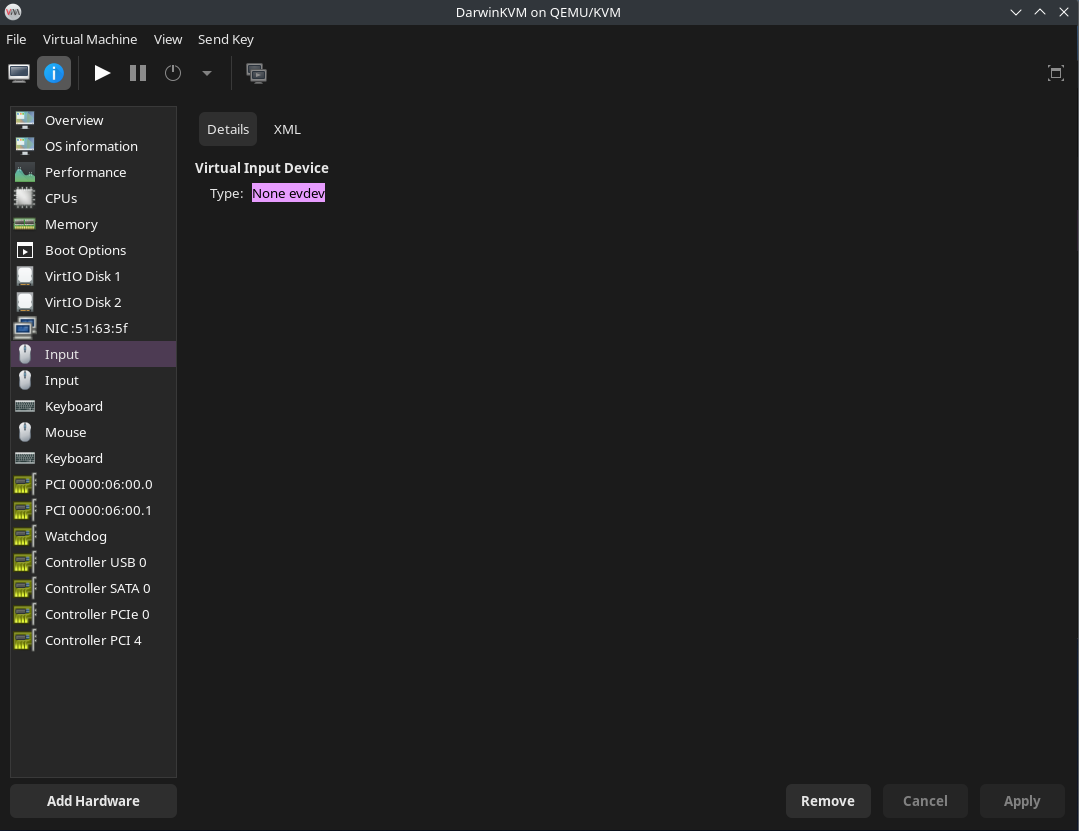
You should then see two ‘Input’ devices and one extra ‘Keyboard’ device in the sidebar!
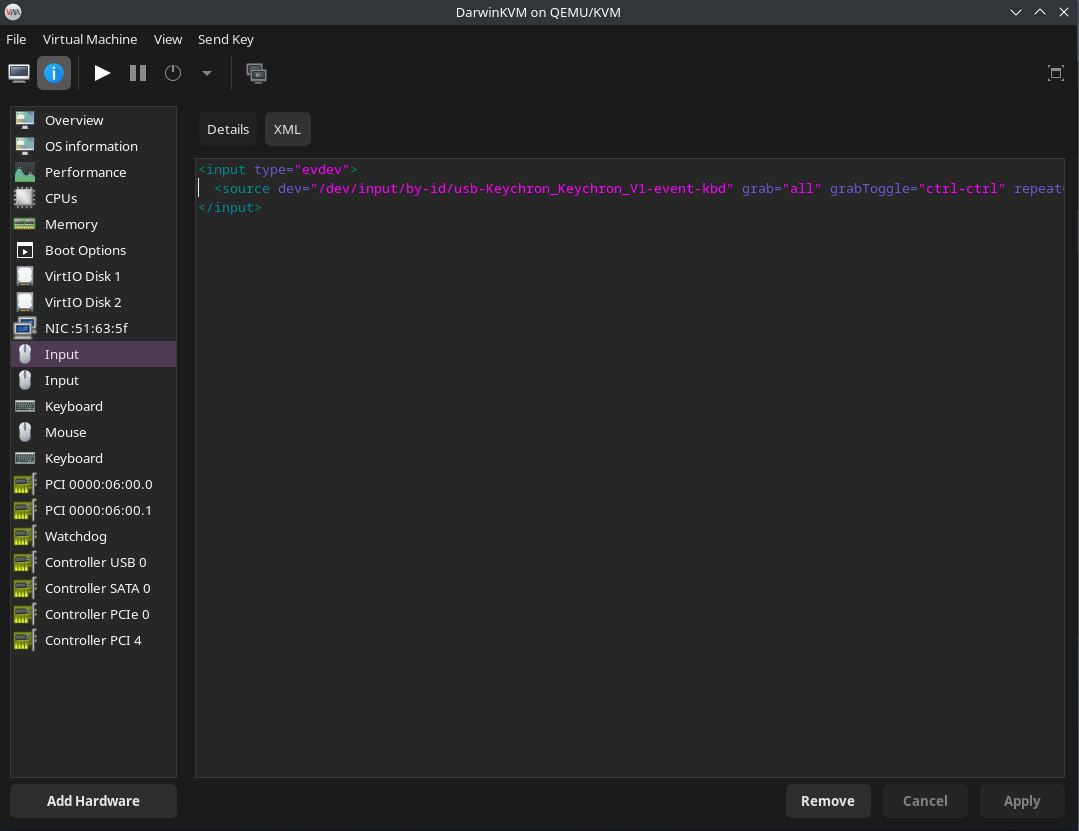
Sample configuration for the keyboard (should be similar for mouse as well):


Now we need to add a mouse. To do this go to ‘Add Hardware’ then ‘Input’ then select ‘USB Mouse’.
If you are having issues once in MacOS with the cursor snapping back to the top left corner, remove and add the USB mouse while the virtual machine is running.