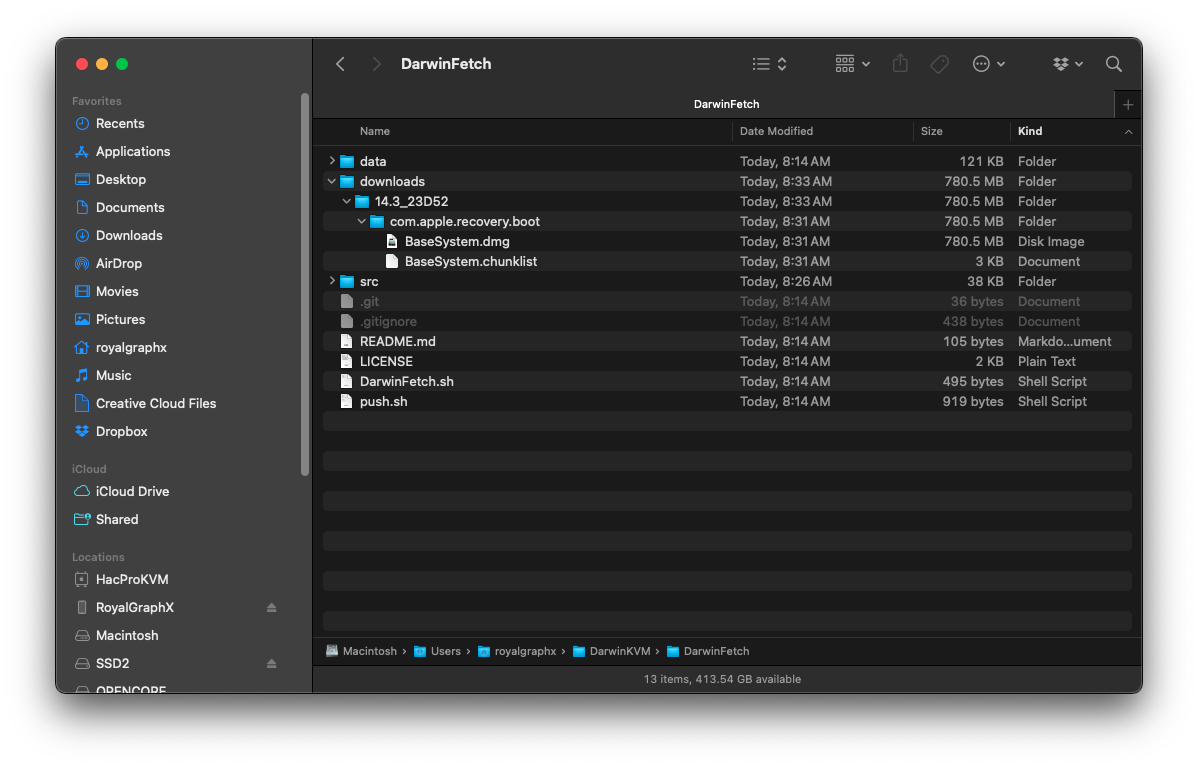
DarwinFetch sorts all downloads within its respective downloads folder.
Within that folder, you will find a named subfolder that has the version number, and the build number of whatever macOS RecoveryOS image you chose to fetch.
Within that folder it then creates a com.apple.recovery.boot folder. Inside you'll find a BaseSystem.dmg (or RecoveryImage.dmg) and a .chunklist file which holds the recoveryOS for retrieving and installing macOS from scratch over the internet. This is the same base system that exists on real Macs as a recovery partition.
Because we'd like to maintain SecureBootModel and various other settings for security reasons, we'll want to follow the same method as using a baremetal OpenCore USB on real hardware. Drag the com.apple.recovery.boot folder to the root of the OpenCore image.
With this, you can later boot Base System and thus, recoveryOS.
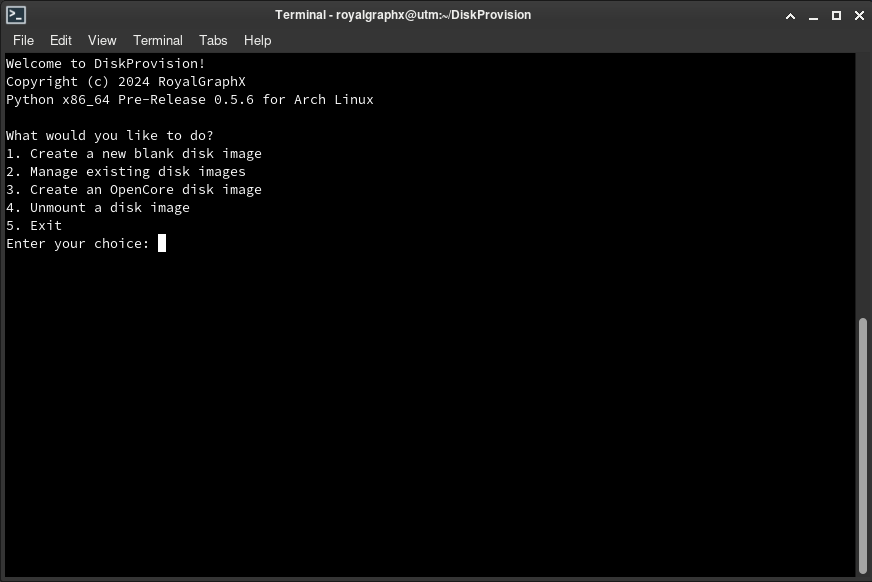
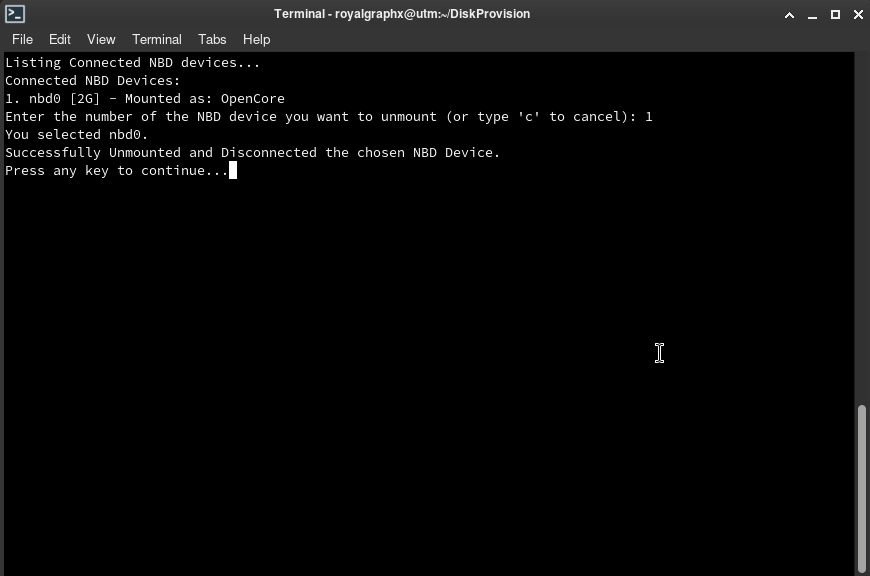
Now that you've completed configuring your OpenCore disk image, DO NOT FORGET TO UNMOUNT YOUR OPENCORE IMAGE USING DISKPROVISION before continuing to the XML importing and OS Installation sections. You cannot have the disk image mounted when you are going to boot or use the virtual machine associated with it.
You can now continue to the next page to see an example of how recoveryOS works before we go ahead and configure the actual virtual machine in Virt-Manager.


