
This section needs to have its screenshots updated with the latest DiskProvision, after it’s rewritten. The legacy screenshots are still here for continuity and to allow users to still follow along. Be aware of what you’re choosing! The menu may have changed.
To continue the guide you will need a disk image that will act as a USB containing OpenCore. In this page, you'll get a basic overview on how to utilize the DiskProvision tool that's in DarwinKVM to complete this requirement.
For further learning of DiskProvision and its offerings, check out the README.md on the Github repo.
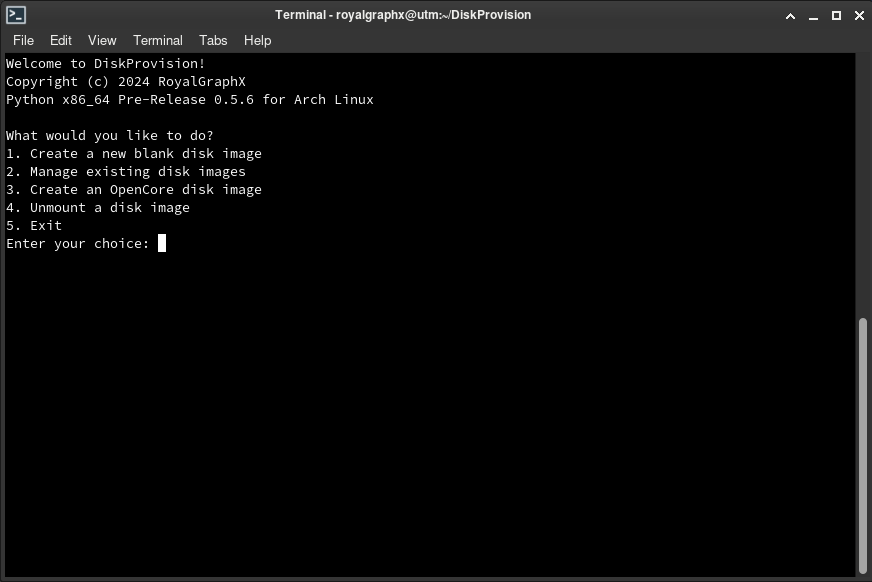
You can now launch DiskProvision using DarwinKVM's Main Menu.
Basic Walkthrough
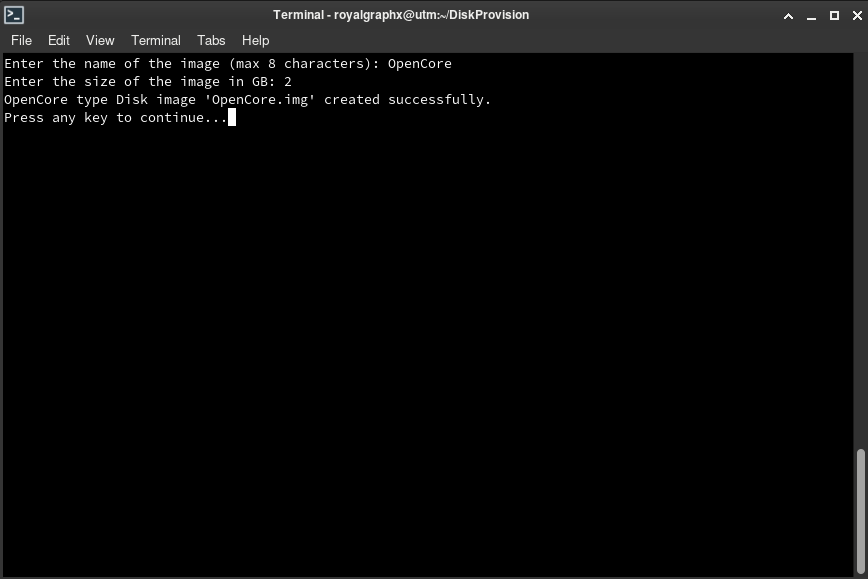
Feel free to call it as you’d like. It doesn’t have to be OpenCore but will have an 8 character limit due to FAT32. 2GB is the minimum recommended size if using recoveryOS to hold com.apple.recovery.boot folder and contents comfortably, especially if lots of logs are created.
To get started, Linux hosts have a special 3rd option which will begin the creation of a new "OpenCore"-type disk image that is prepared to be used as a bootable and mountable disk.
You will be brought back to the main menu afterwards. Select option 2 to browse the images in the database, and select the disk image you created. You will be asked if you'd like to mount it to a directory, and yes we do want to. Press enter as Yes is the default.

Do NOT use the left-hand side mounted disks tab to view the contents! Make sure you are using the folder itself, that is linked to the disk image itself. For some reason, some FMs can cause corruption to the image this way. There is no easy way to prevent the images from appearing from the sidebar, but the folders are linked to the direct NBD device/partition correctly.
When you look at your file explorer graphically, you will see there is a mountpoints/ folder that holds all actively mounted images within the DiskProvision root folder.

In this folder, will spawn folders linked to the mounted NBD device. This is how you can interact with the contents of the mounted disk image.

Double click and enter the folder named after the image you just created and mounted. You'll now continue on to the next page, to begin filling the contents of the image.