Results!
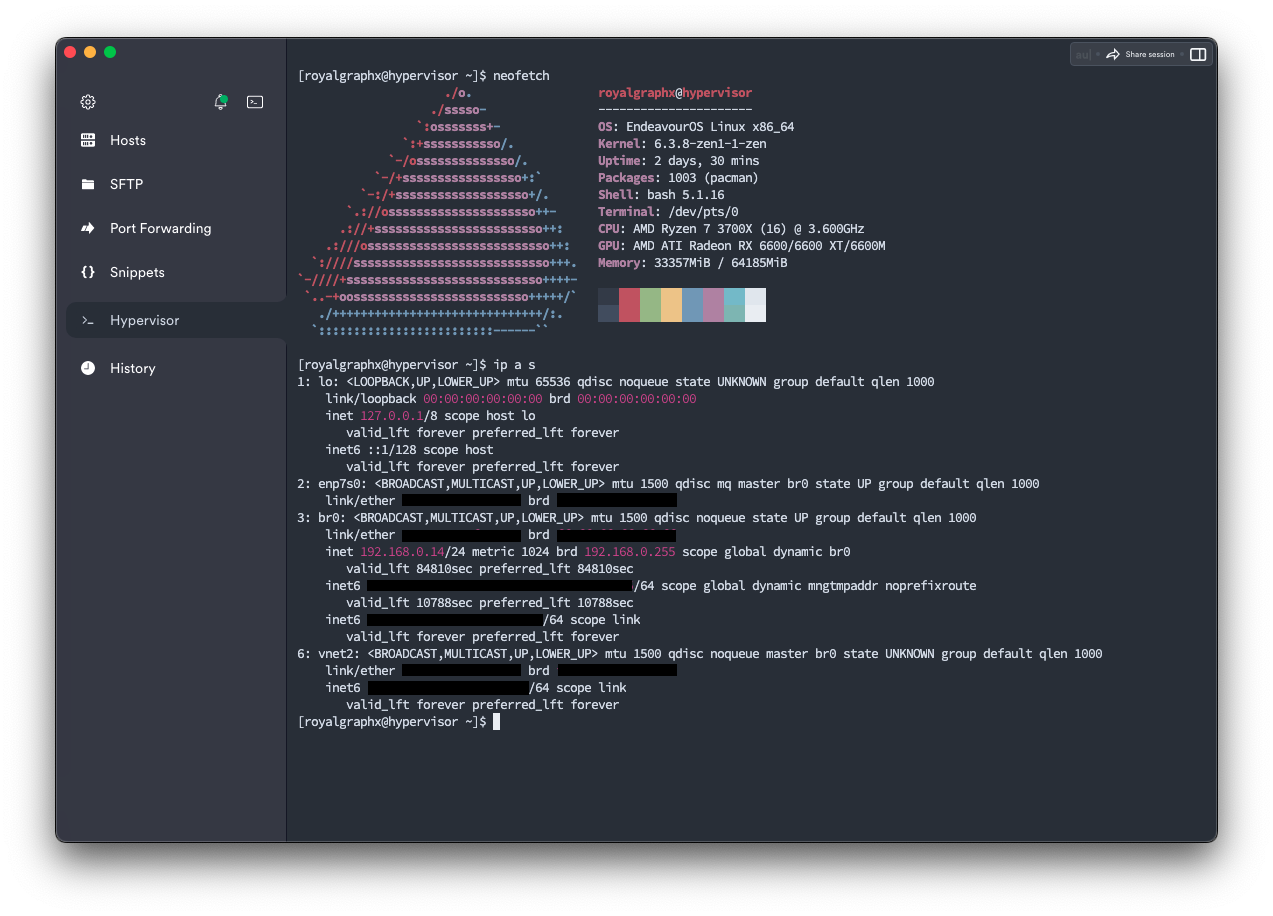
You can now issue the ip a s command to see your working configuration! Here is some example output where you can see the br0 interface is up and assigned an IP, ready to be used with Virt-Manager or QEMU CLI.
[liveuser@eos-2023.03.26 BridgeNetworking]$ ip a s
1: lo: <LOOPBACK,UP,LOWER_UP> mtu 65536 qdisc noqueue state UNKNOWN group default qlen 1000
    link/loopback 00:00:00:00:00:00 brd 00:00:00:00:00:00
    inet 127.0.0.1/8 scope host lo
       valid_lft forever preferred_lft forever
    inet6 ::1/128 scope host
       valid_lft forever preferred_lft forever
2: enp0s1: <BROADCAST,MULTICAST,UP,LOWER_UP> mtu 1500 qdisc master br0 state UP group default qlen 1000
    link/ether 4e:1e:25:1d:61:4c brd ff:ff:ff:ff:ff:ff
3: br0: <BROADCAST,MULTICAST,UP,LOWER_UP> mtu 1500 qdisc noqueue state UP group default qlen 1000
    link/ether 52:04:b7:3a:8b:42 brd ff:ff:ff:ff:ff:ff
    inet 192.168.0.5/24 metric 1024 brd 192.168.64.255 scope global dynamic br0
       valid_lft 85598sec preferred_lft 85598sec
    inet6 fdd3:7ef0:5a91:683b:5004:b7ff:fe3a:8b42/64 scope global dynamic mngtmpaddr noprefixroute
       valid_lft 2591920sec preferred_lft 604720sec
    inet6 fe80::5004:b7ff:fe3a:8b42/64 scope link
       valid_lft forever preferred_lft forever
[liveuser@eos-2023.03.26 BridgeNetworking]$
Adding to VM
Now that we have our br0 functioning, let’s go ahead and add it to the Virtual Machine, remove the old default network NIC, or if you have none that’s good too. Select the “Add Hardware” button and choose the Network category on the left-hand side. You can now see your network source can be set to Bridge device. The device name given by the script is br0. Of course don’t forget to set the Device model as virtio.
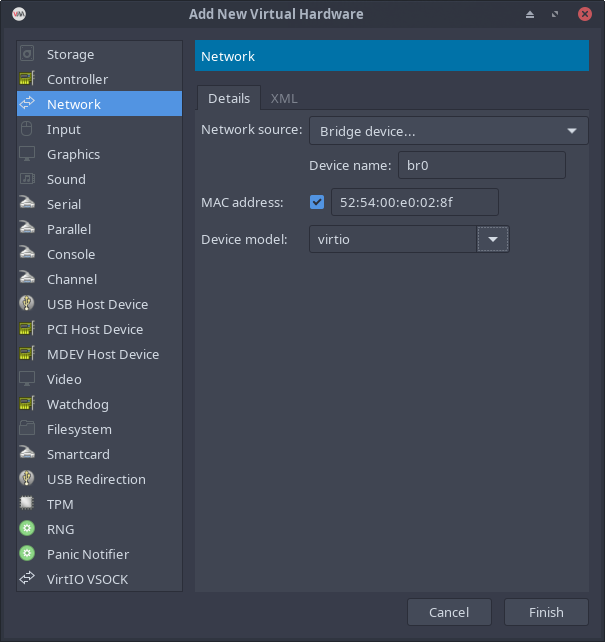
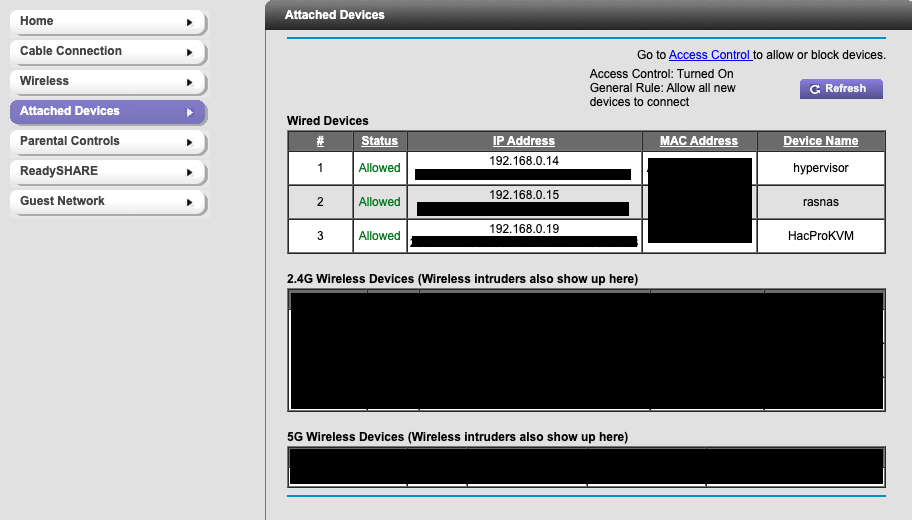
Functional Bridge results
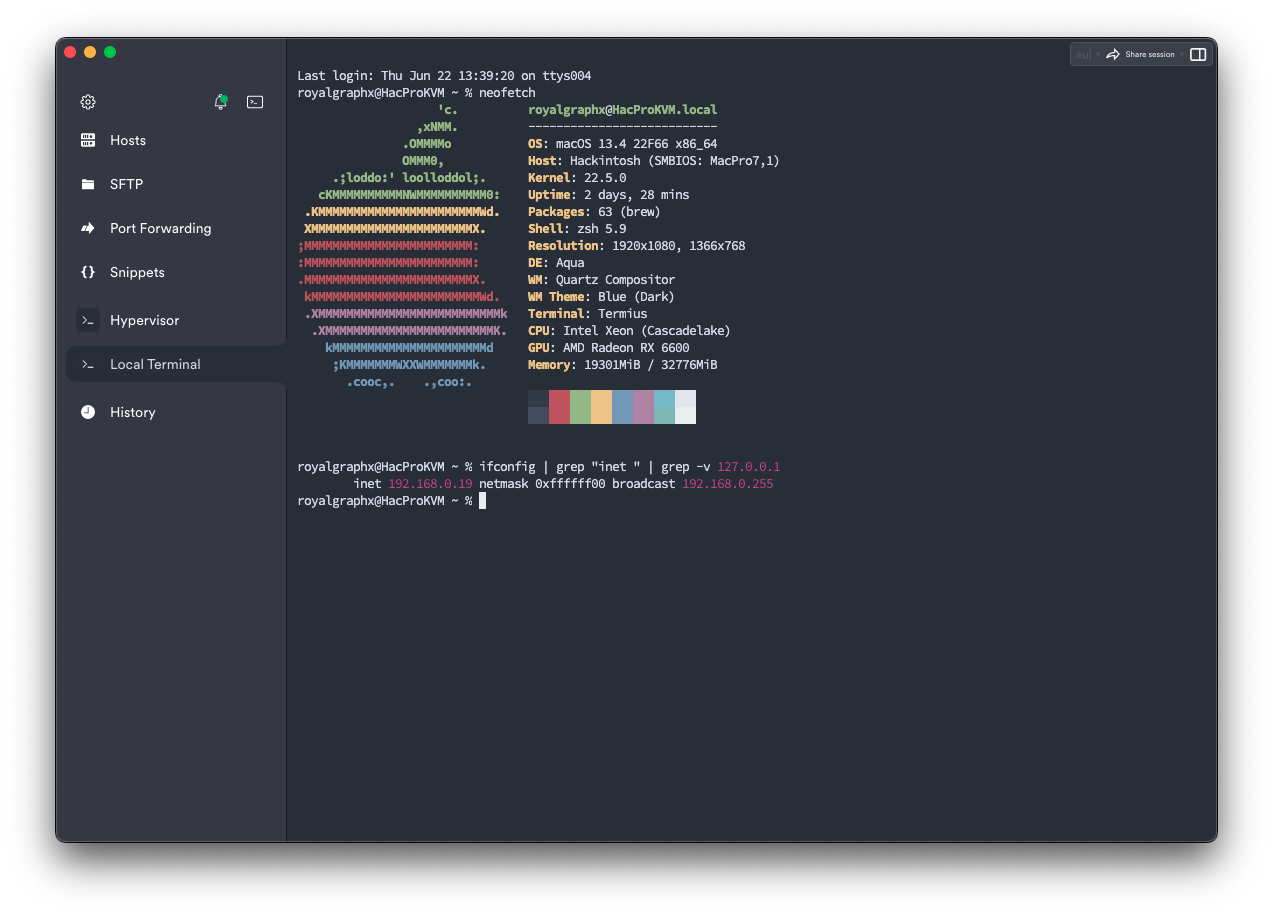
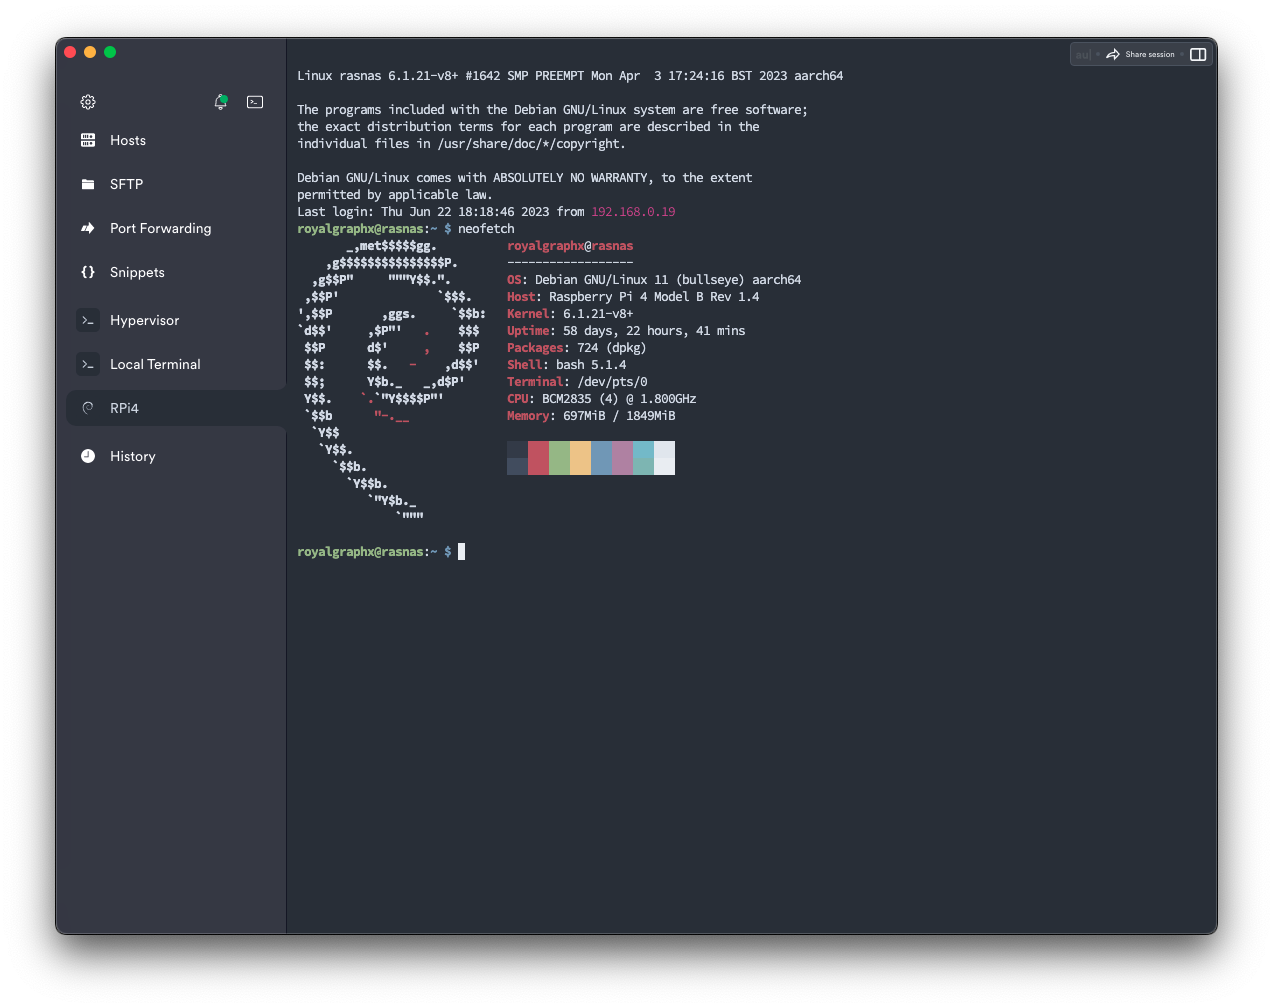
This is the guest macOS talking to devices on the broader network.
