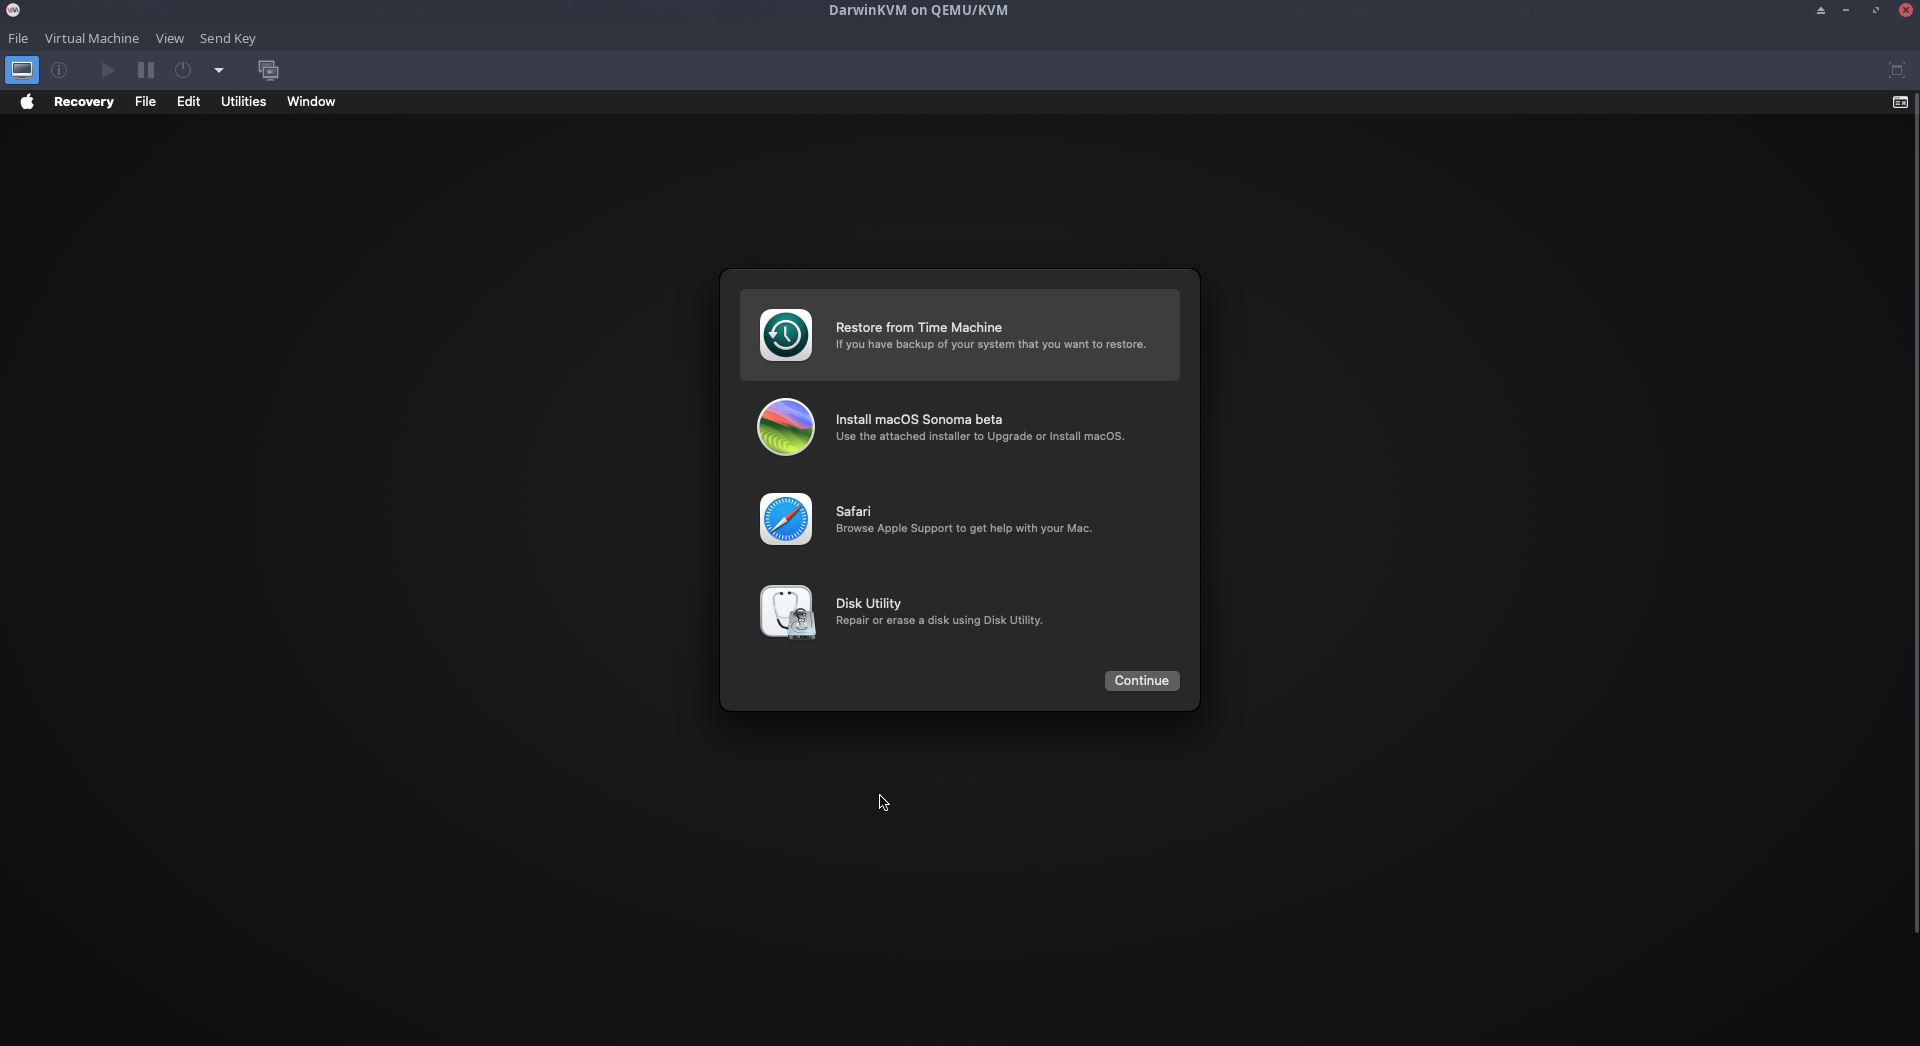
Example Install of macOS via recoveryOS
This is an example of how Recovery install works!
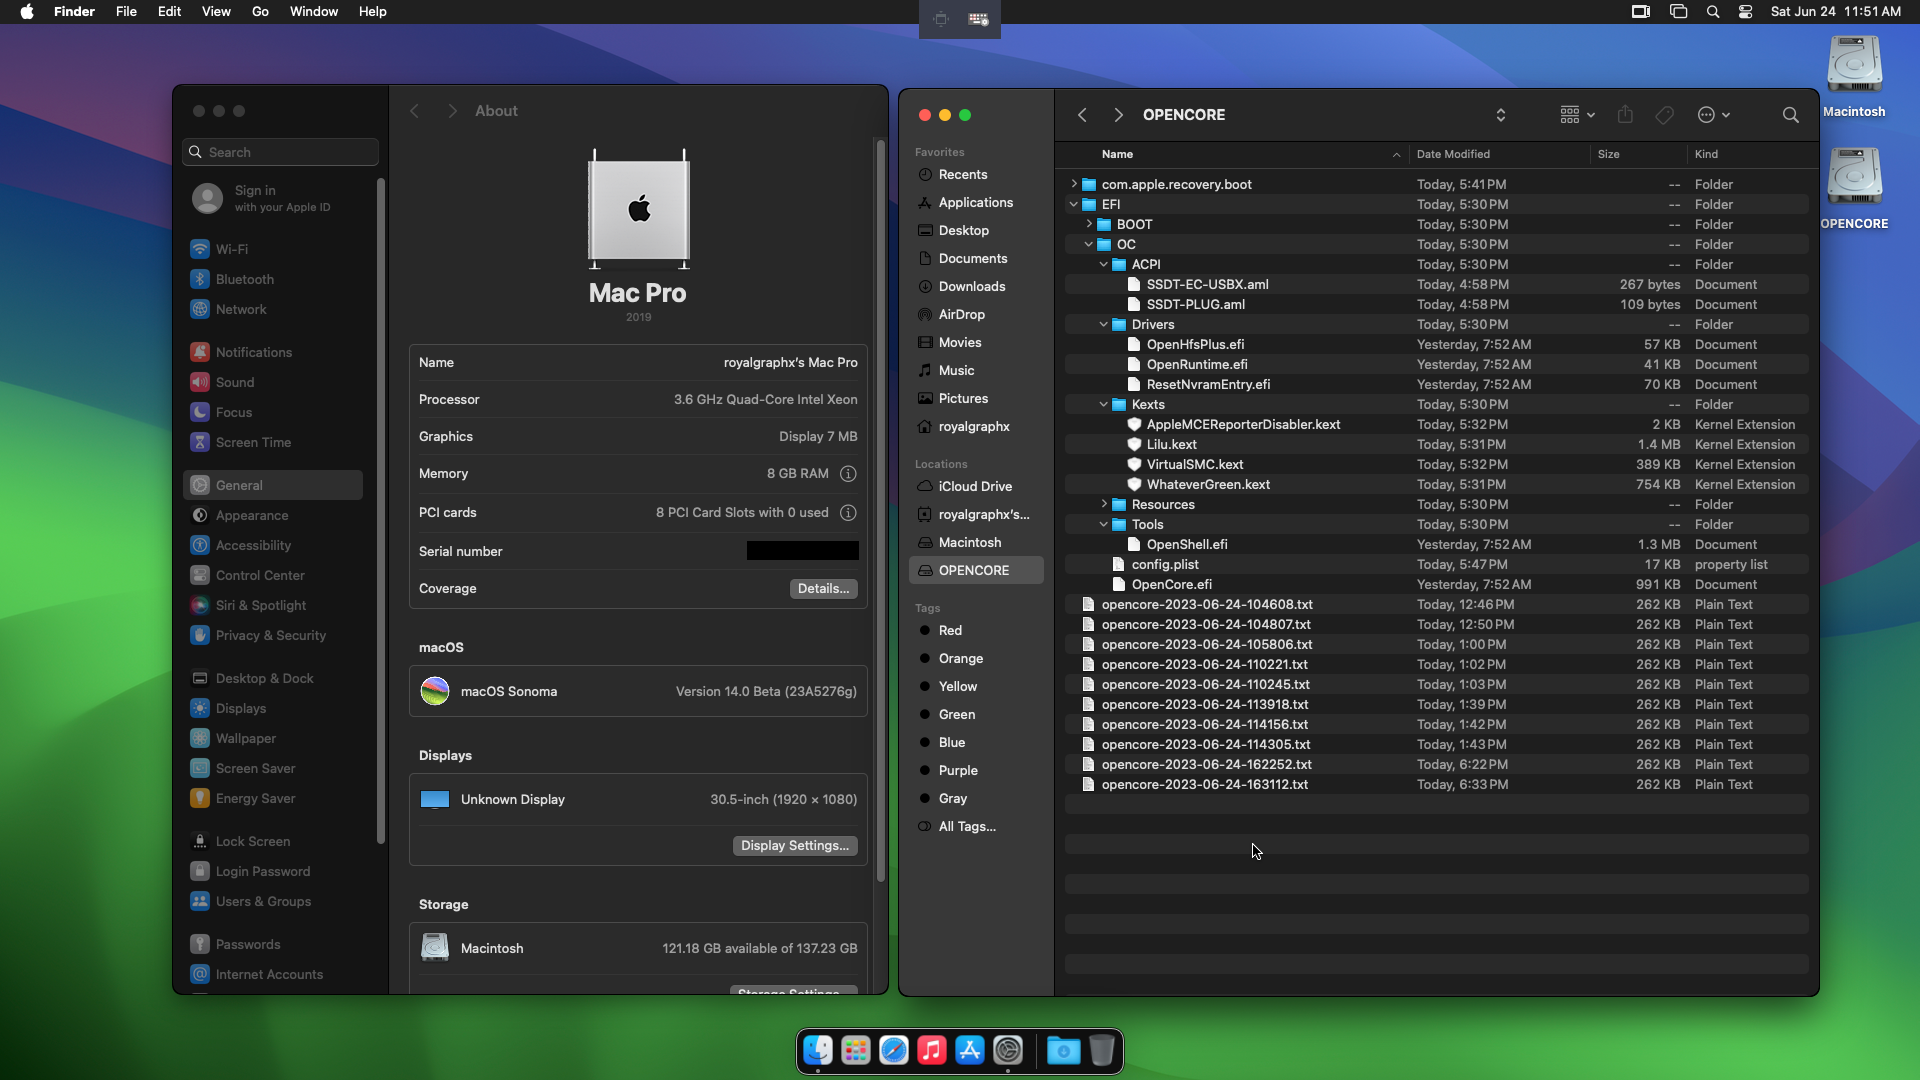
OpenCore Menu, shows recoveryOS detected.
Booting from the RecoveryOS image on the OpenCore Disk Image, is known to take anywhere from a few seconds, to 2 minutes to load! You are not frozen. Simply wait for macOS to finish loading. OpenCore is copying the DMG to RAM, and this process can take a while.
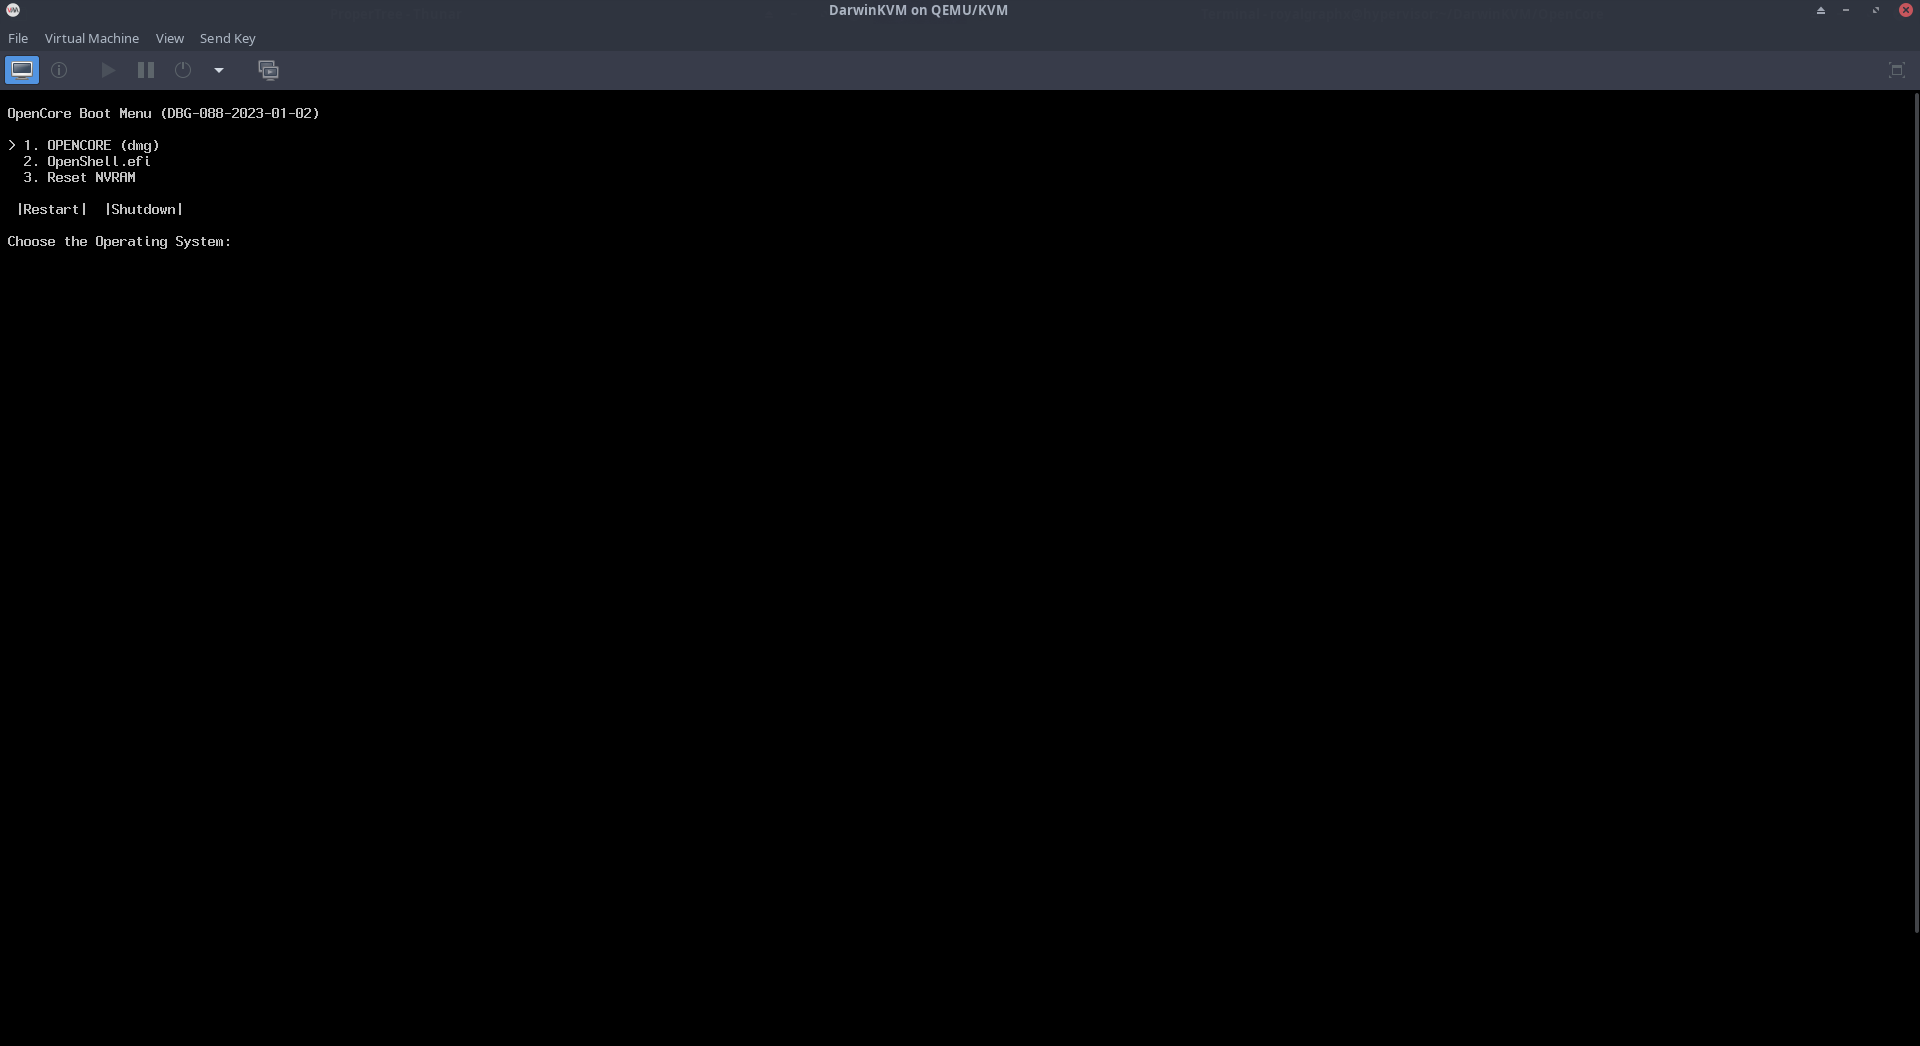
macOS Ventura recoveryOS booting, vm_shared_region warnings can be ignored.
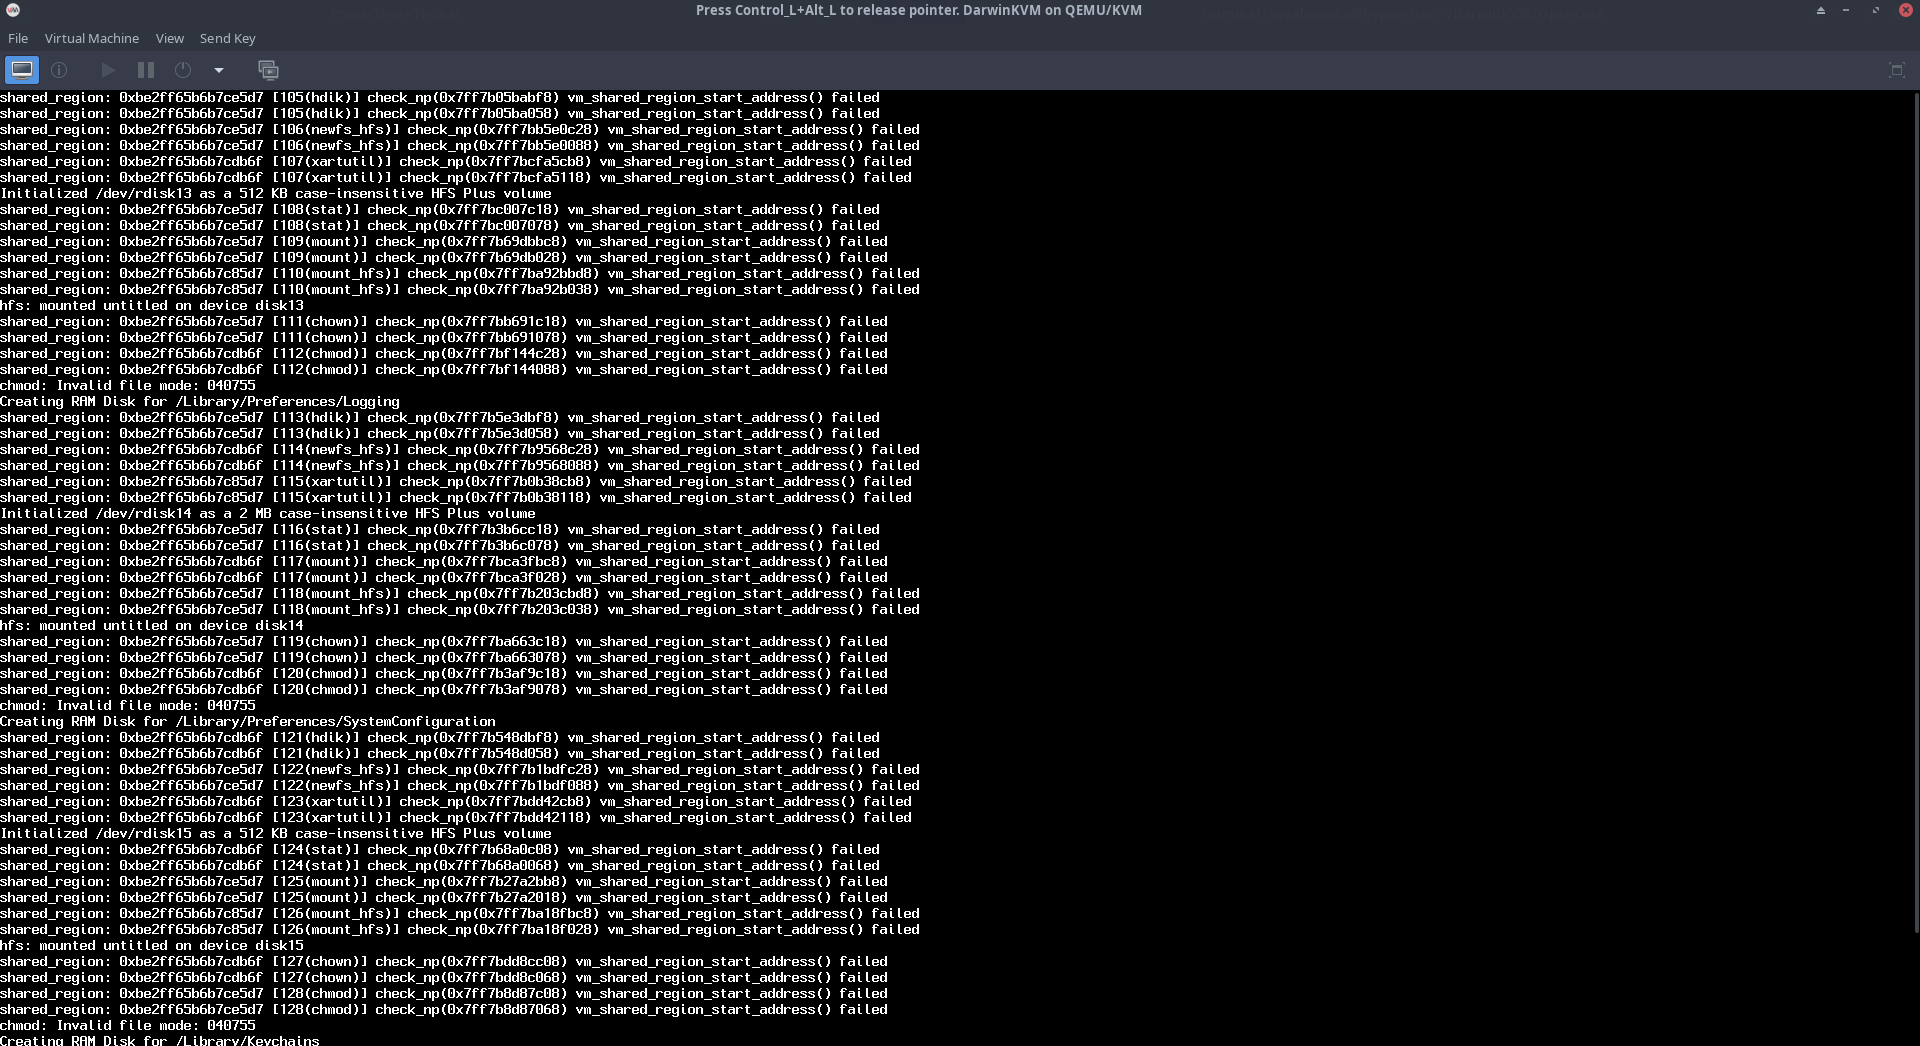
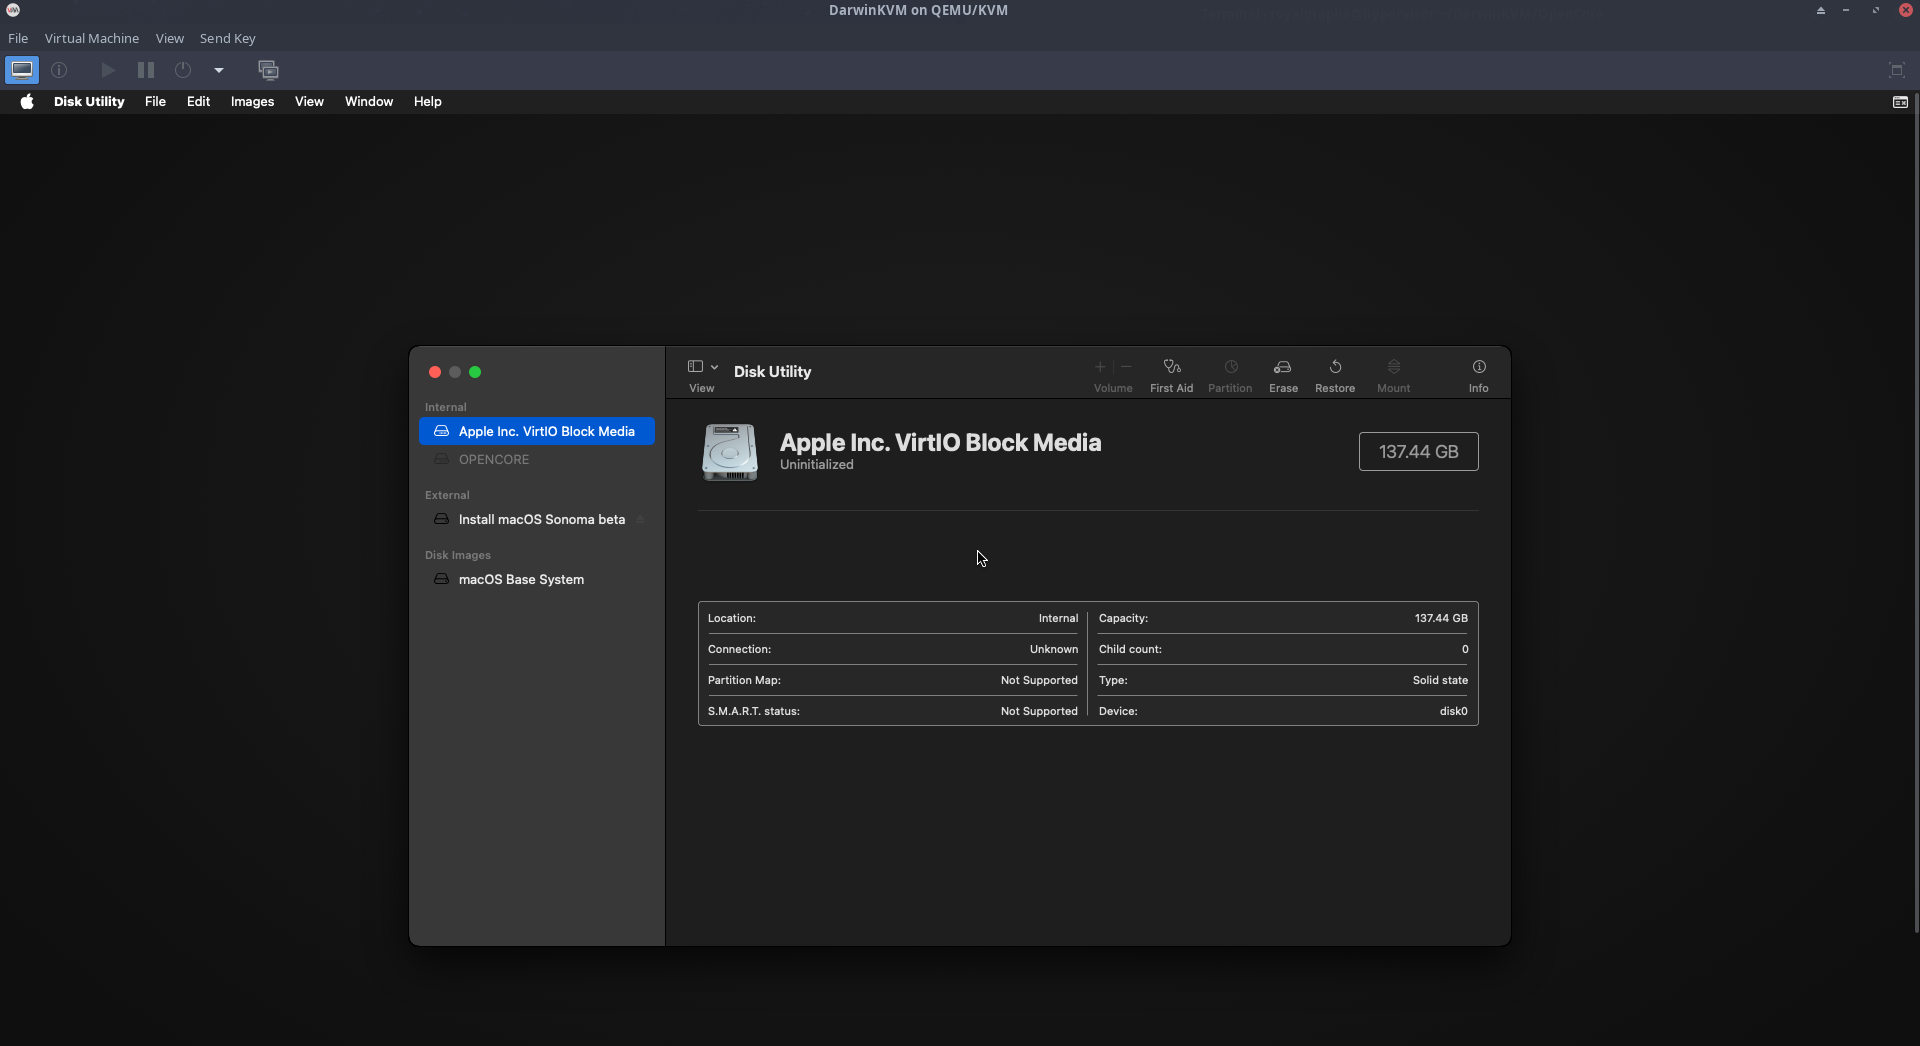
macOS Ventura Disk Utility showing OpenCore drive.
From here on out, the screenshots will show macOS Sonoma because I had the USB prepared nearby and wanted to test everything working still even in Sonoma. This won’t make a difference for you, it’s the same for macOS Ventura.
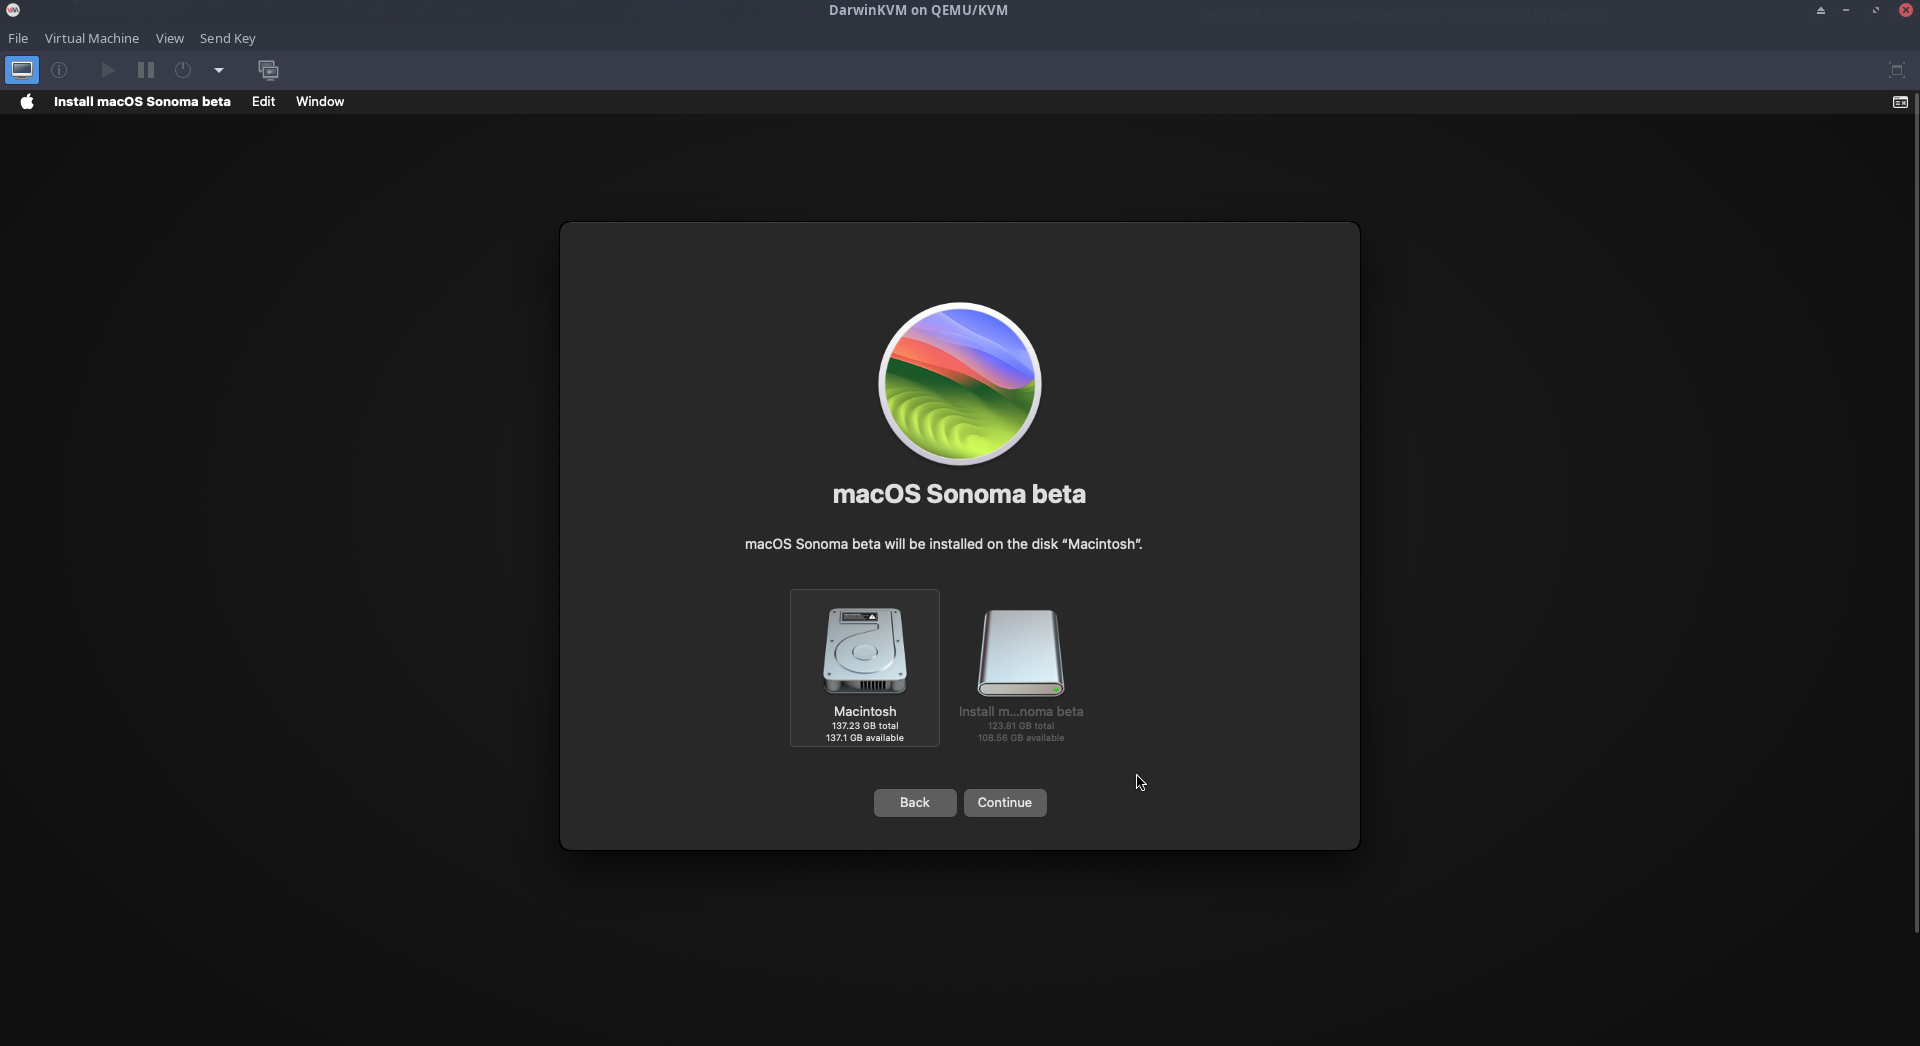
Open Disk Utility, and format the target drive to APFS.
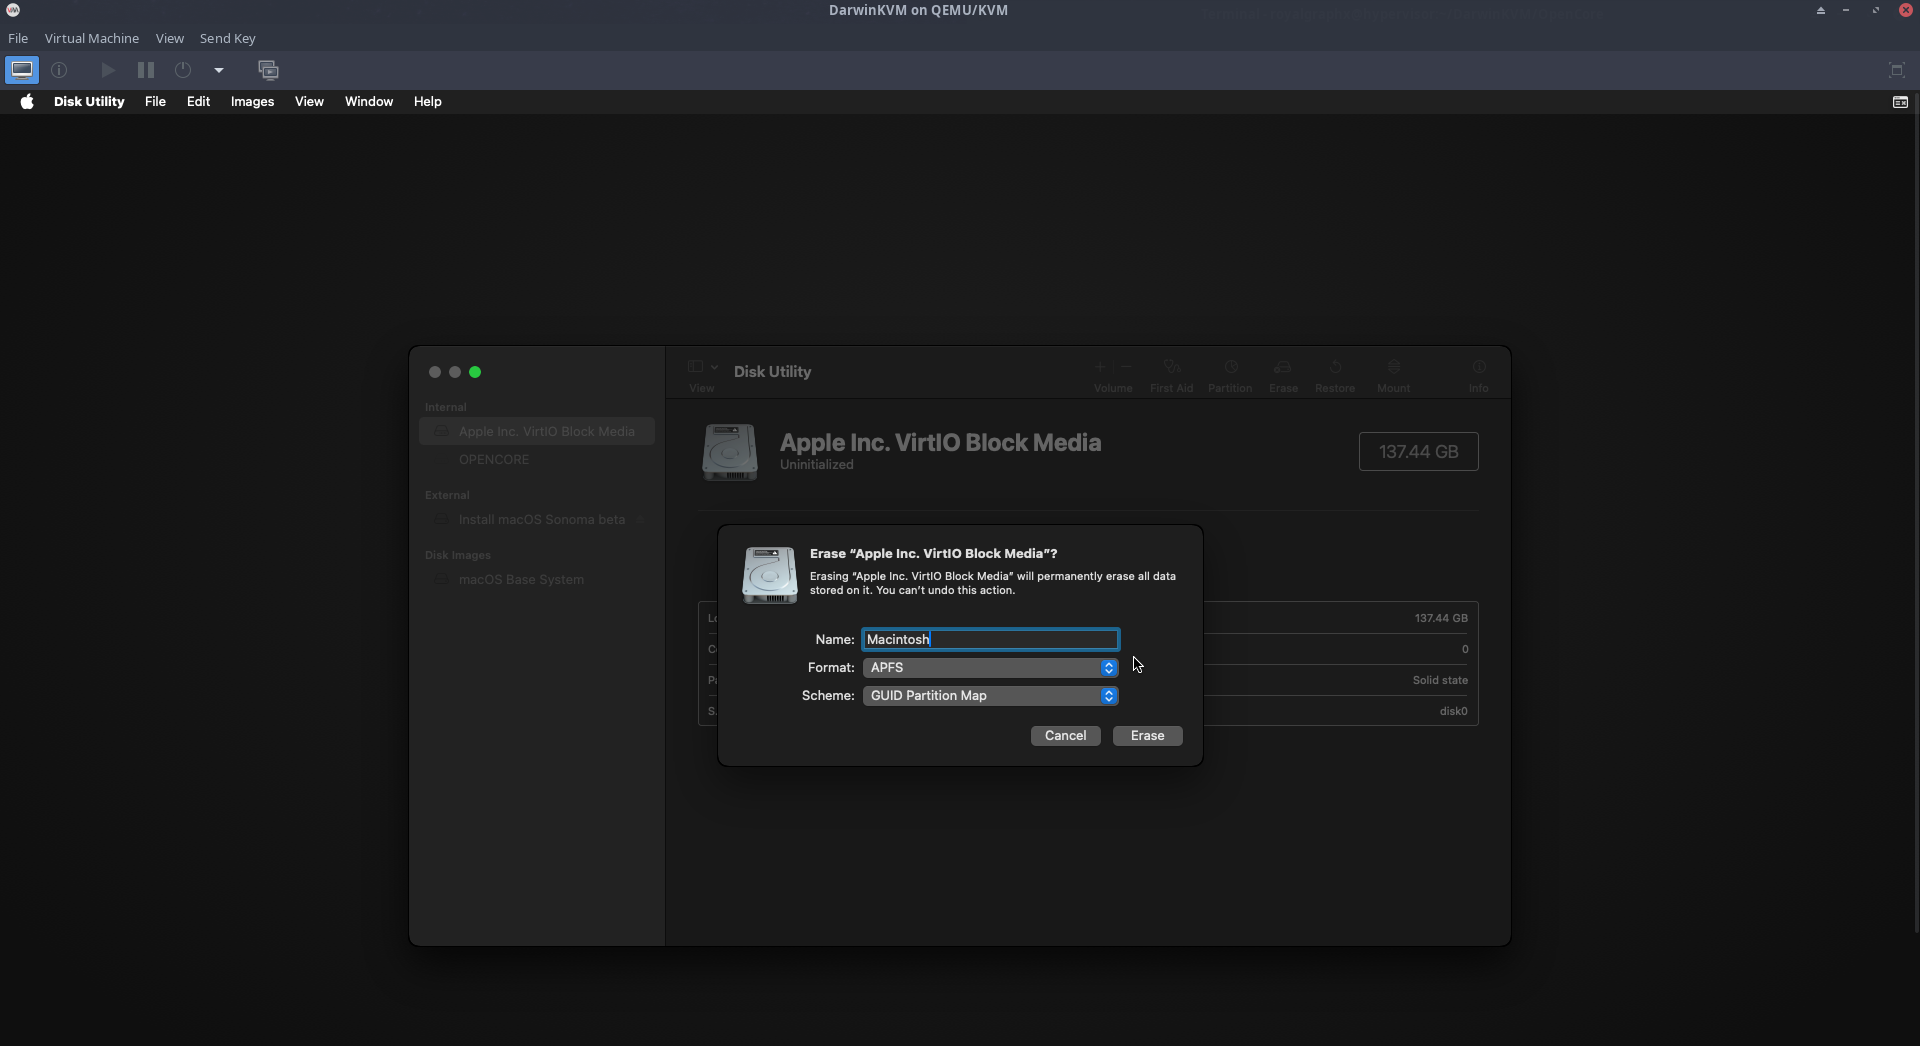
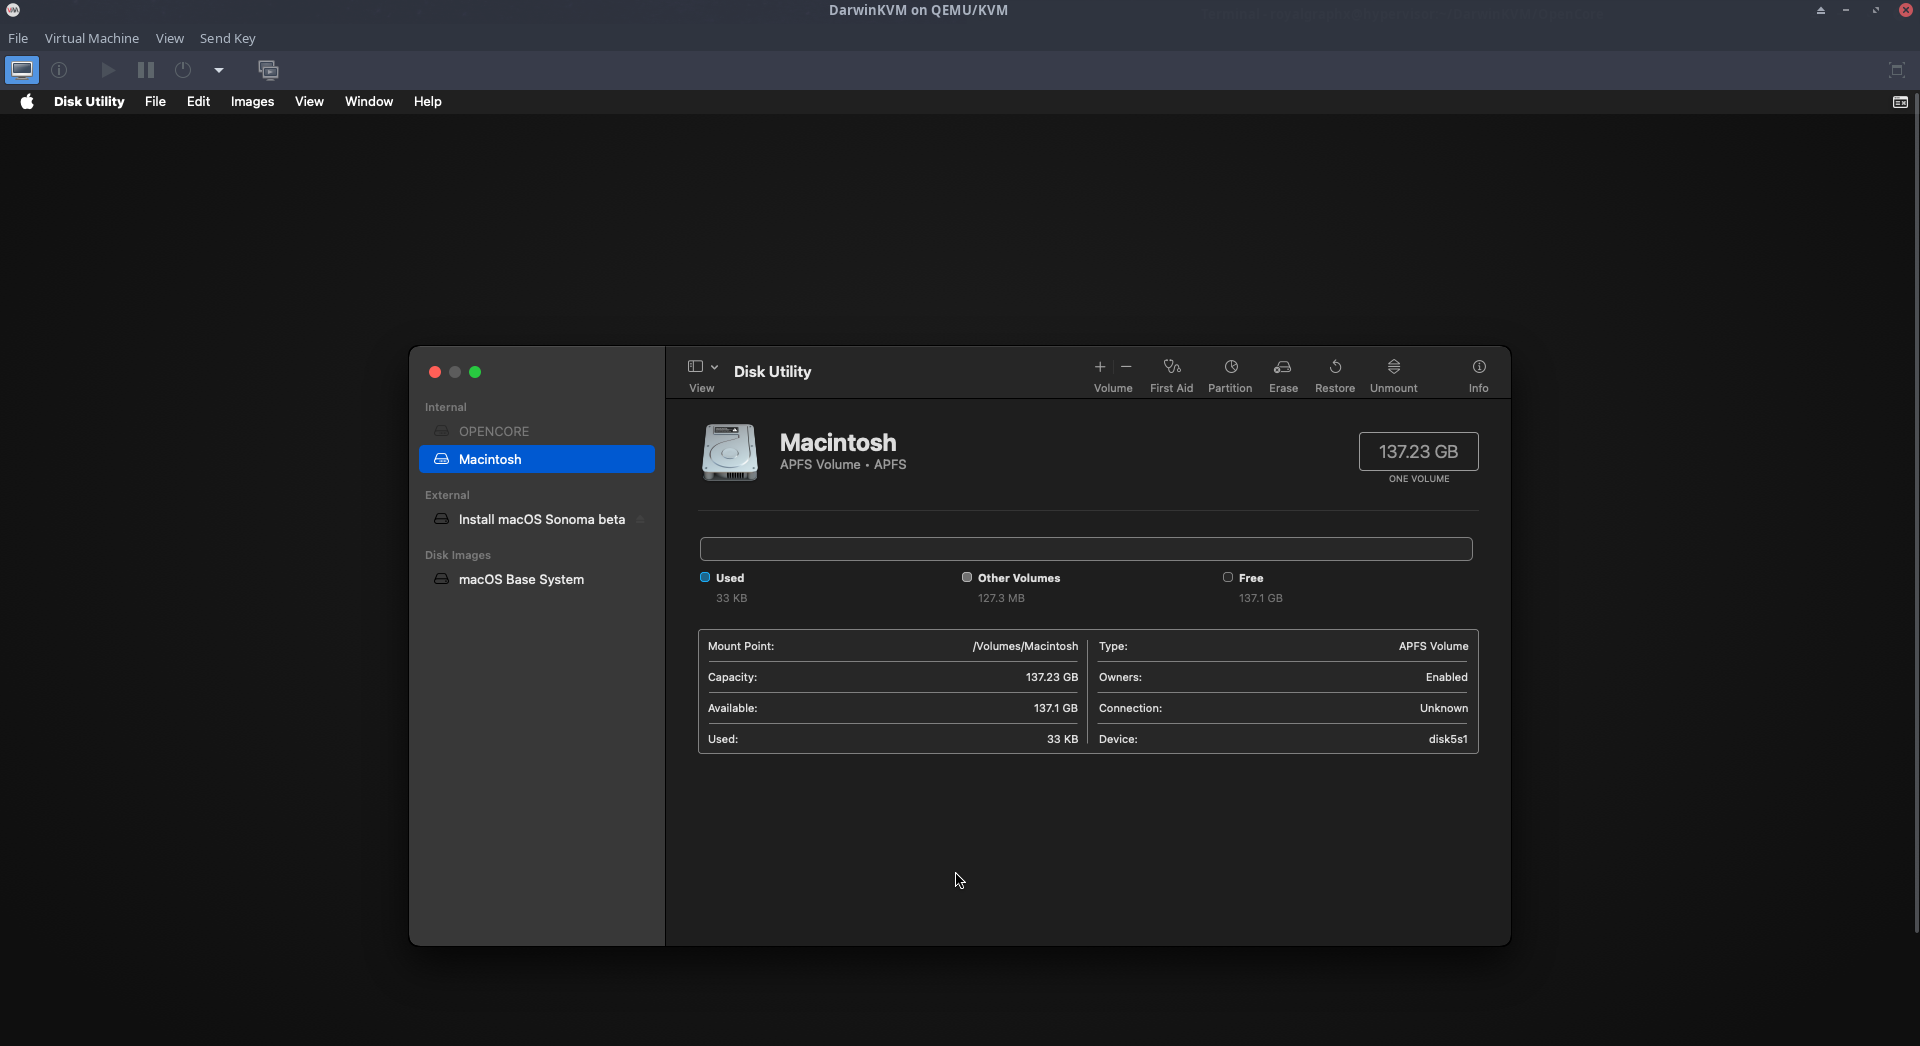
You are now ready to proceed to the installation!
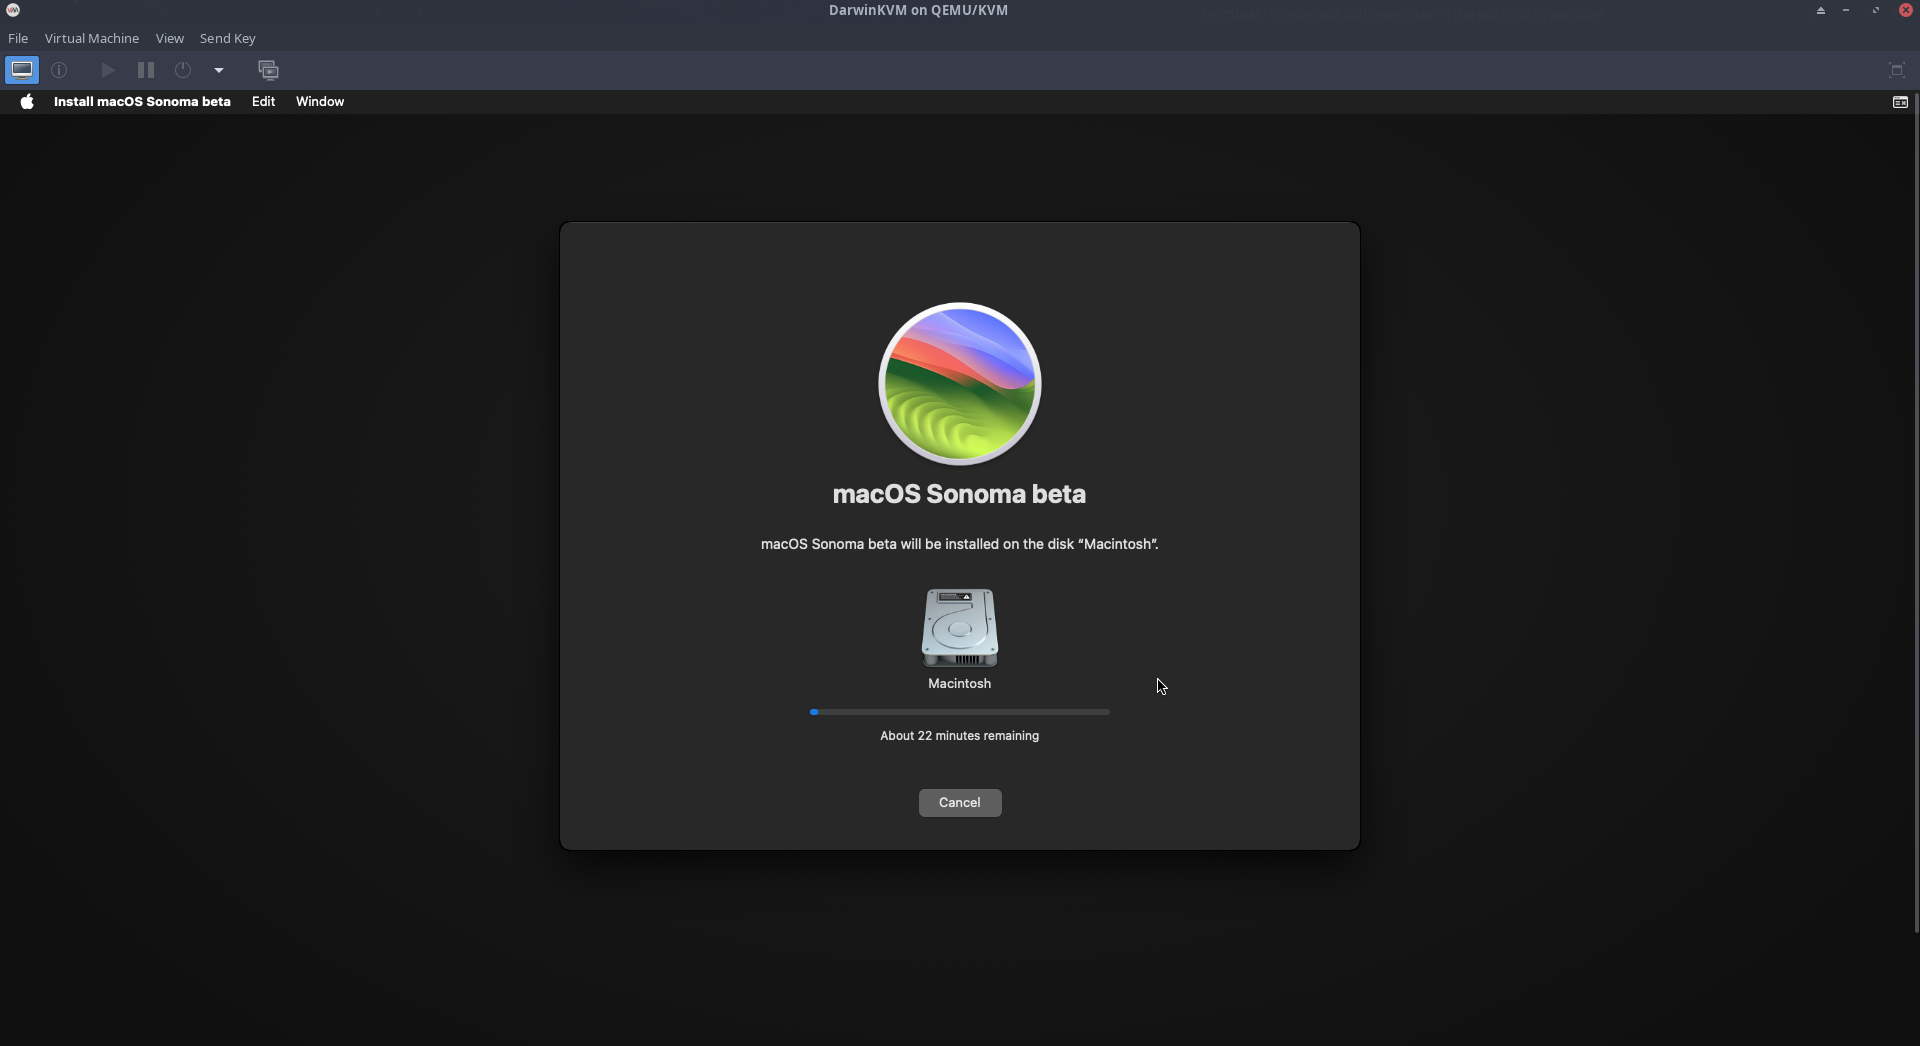
Second Boot Phase

Third Boot Phase, further unpacking.

You may get a fourth reboot, if not, eventually, you will the proper name of your drive:

Here we are at the desktop of our Virtual Machine.
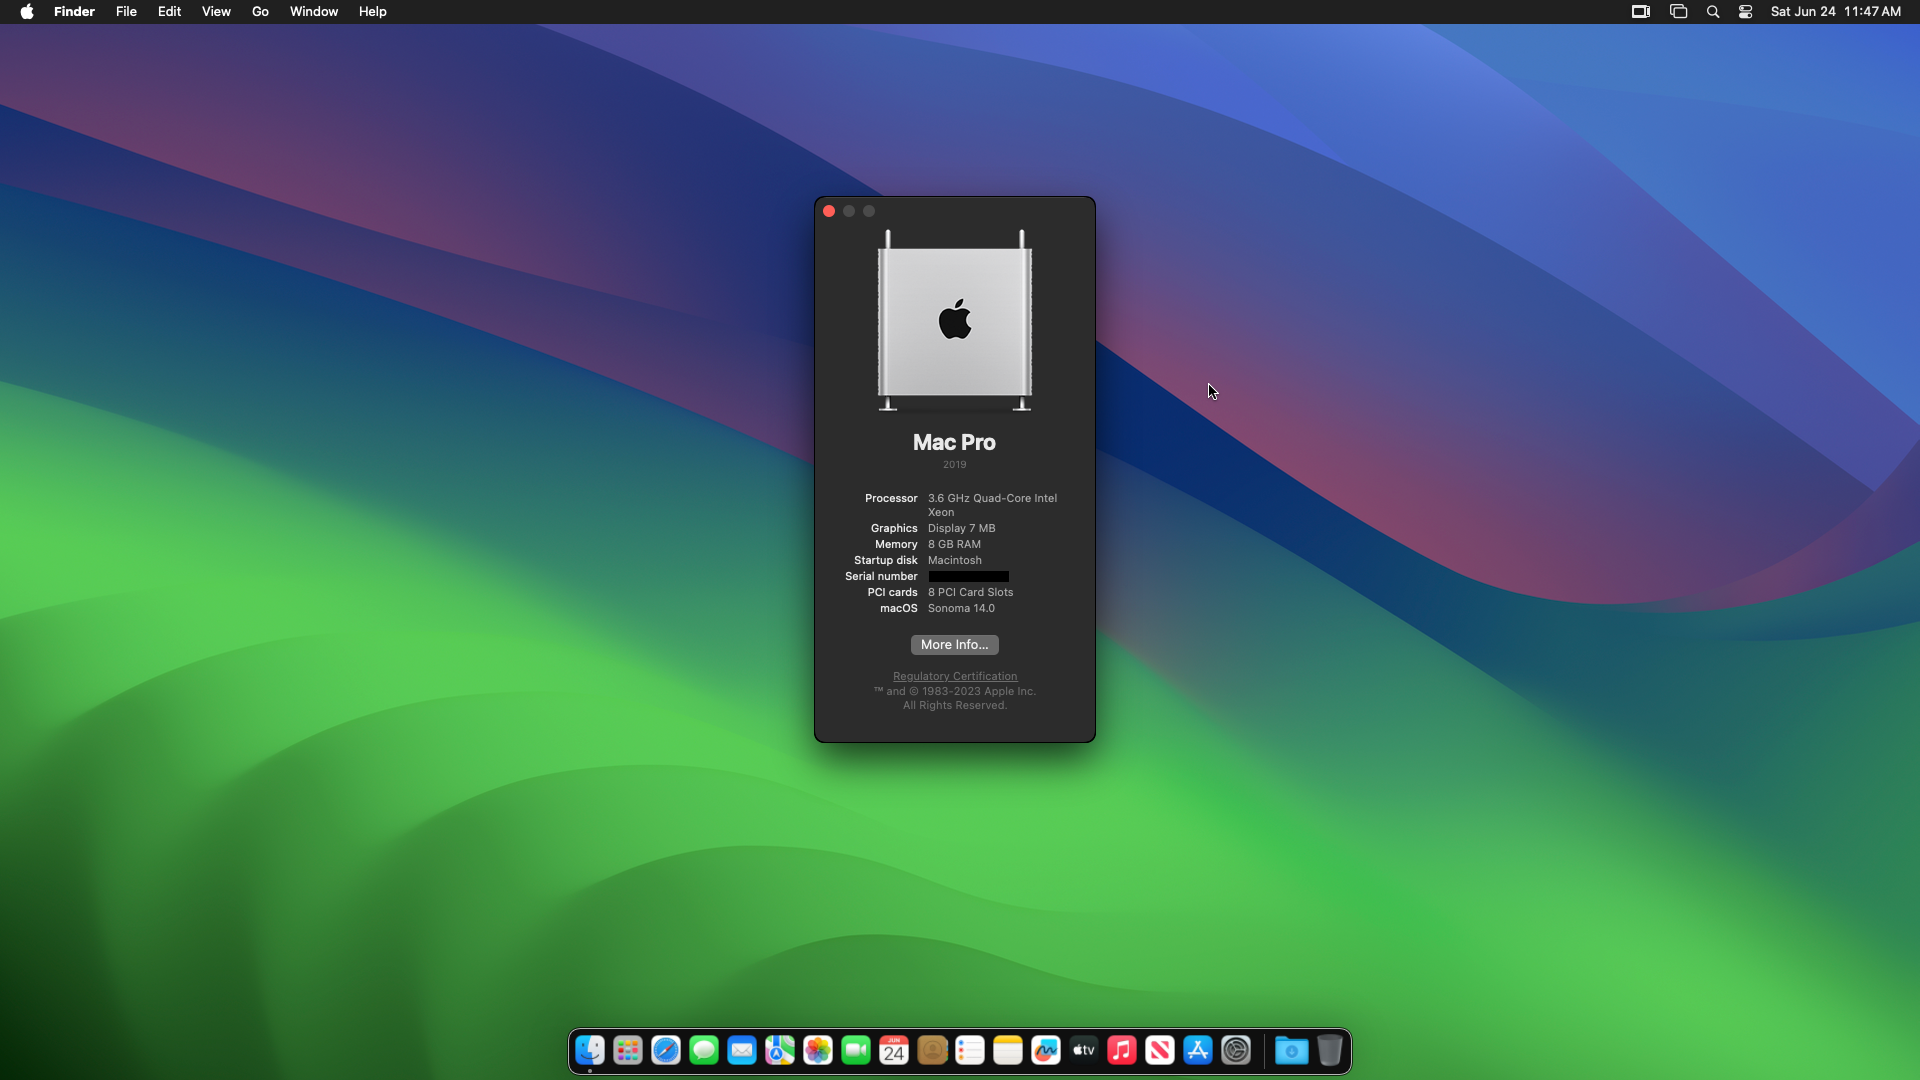
Our OpenCore image is mounted easily and recognized by macOS. Allowing easy modification within and out of the Virtual Machine. Any changes made here, can easily be viewed by mounting on the host. This can be useful for moving small files.